


Stranger Things…
Well, the Drivesuit Project is on hold.
However, I have done another cosplay recently, for Halloween, including teaching myself to sew.
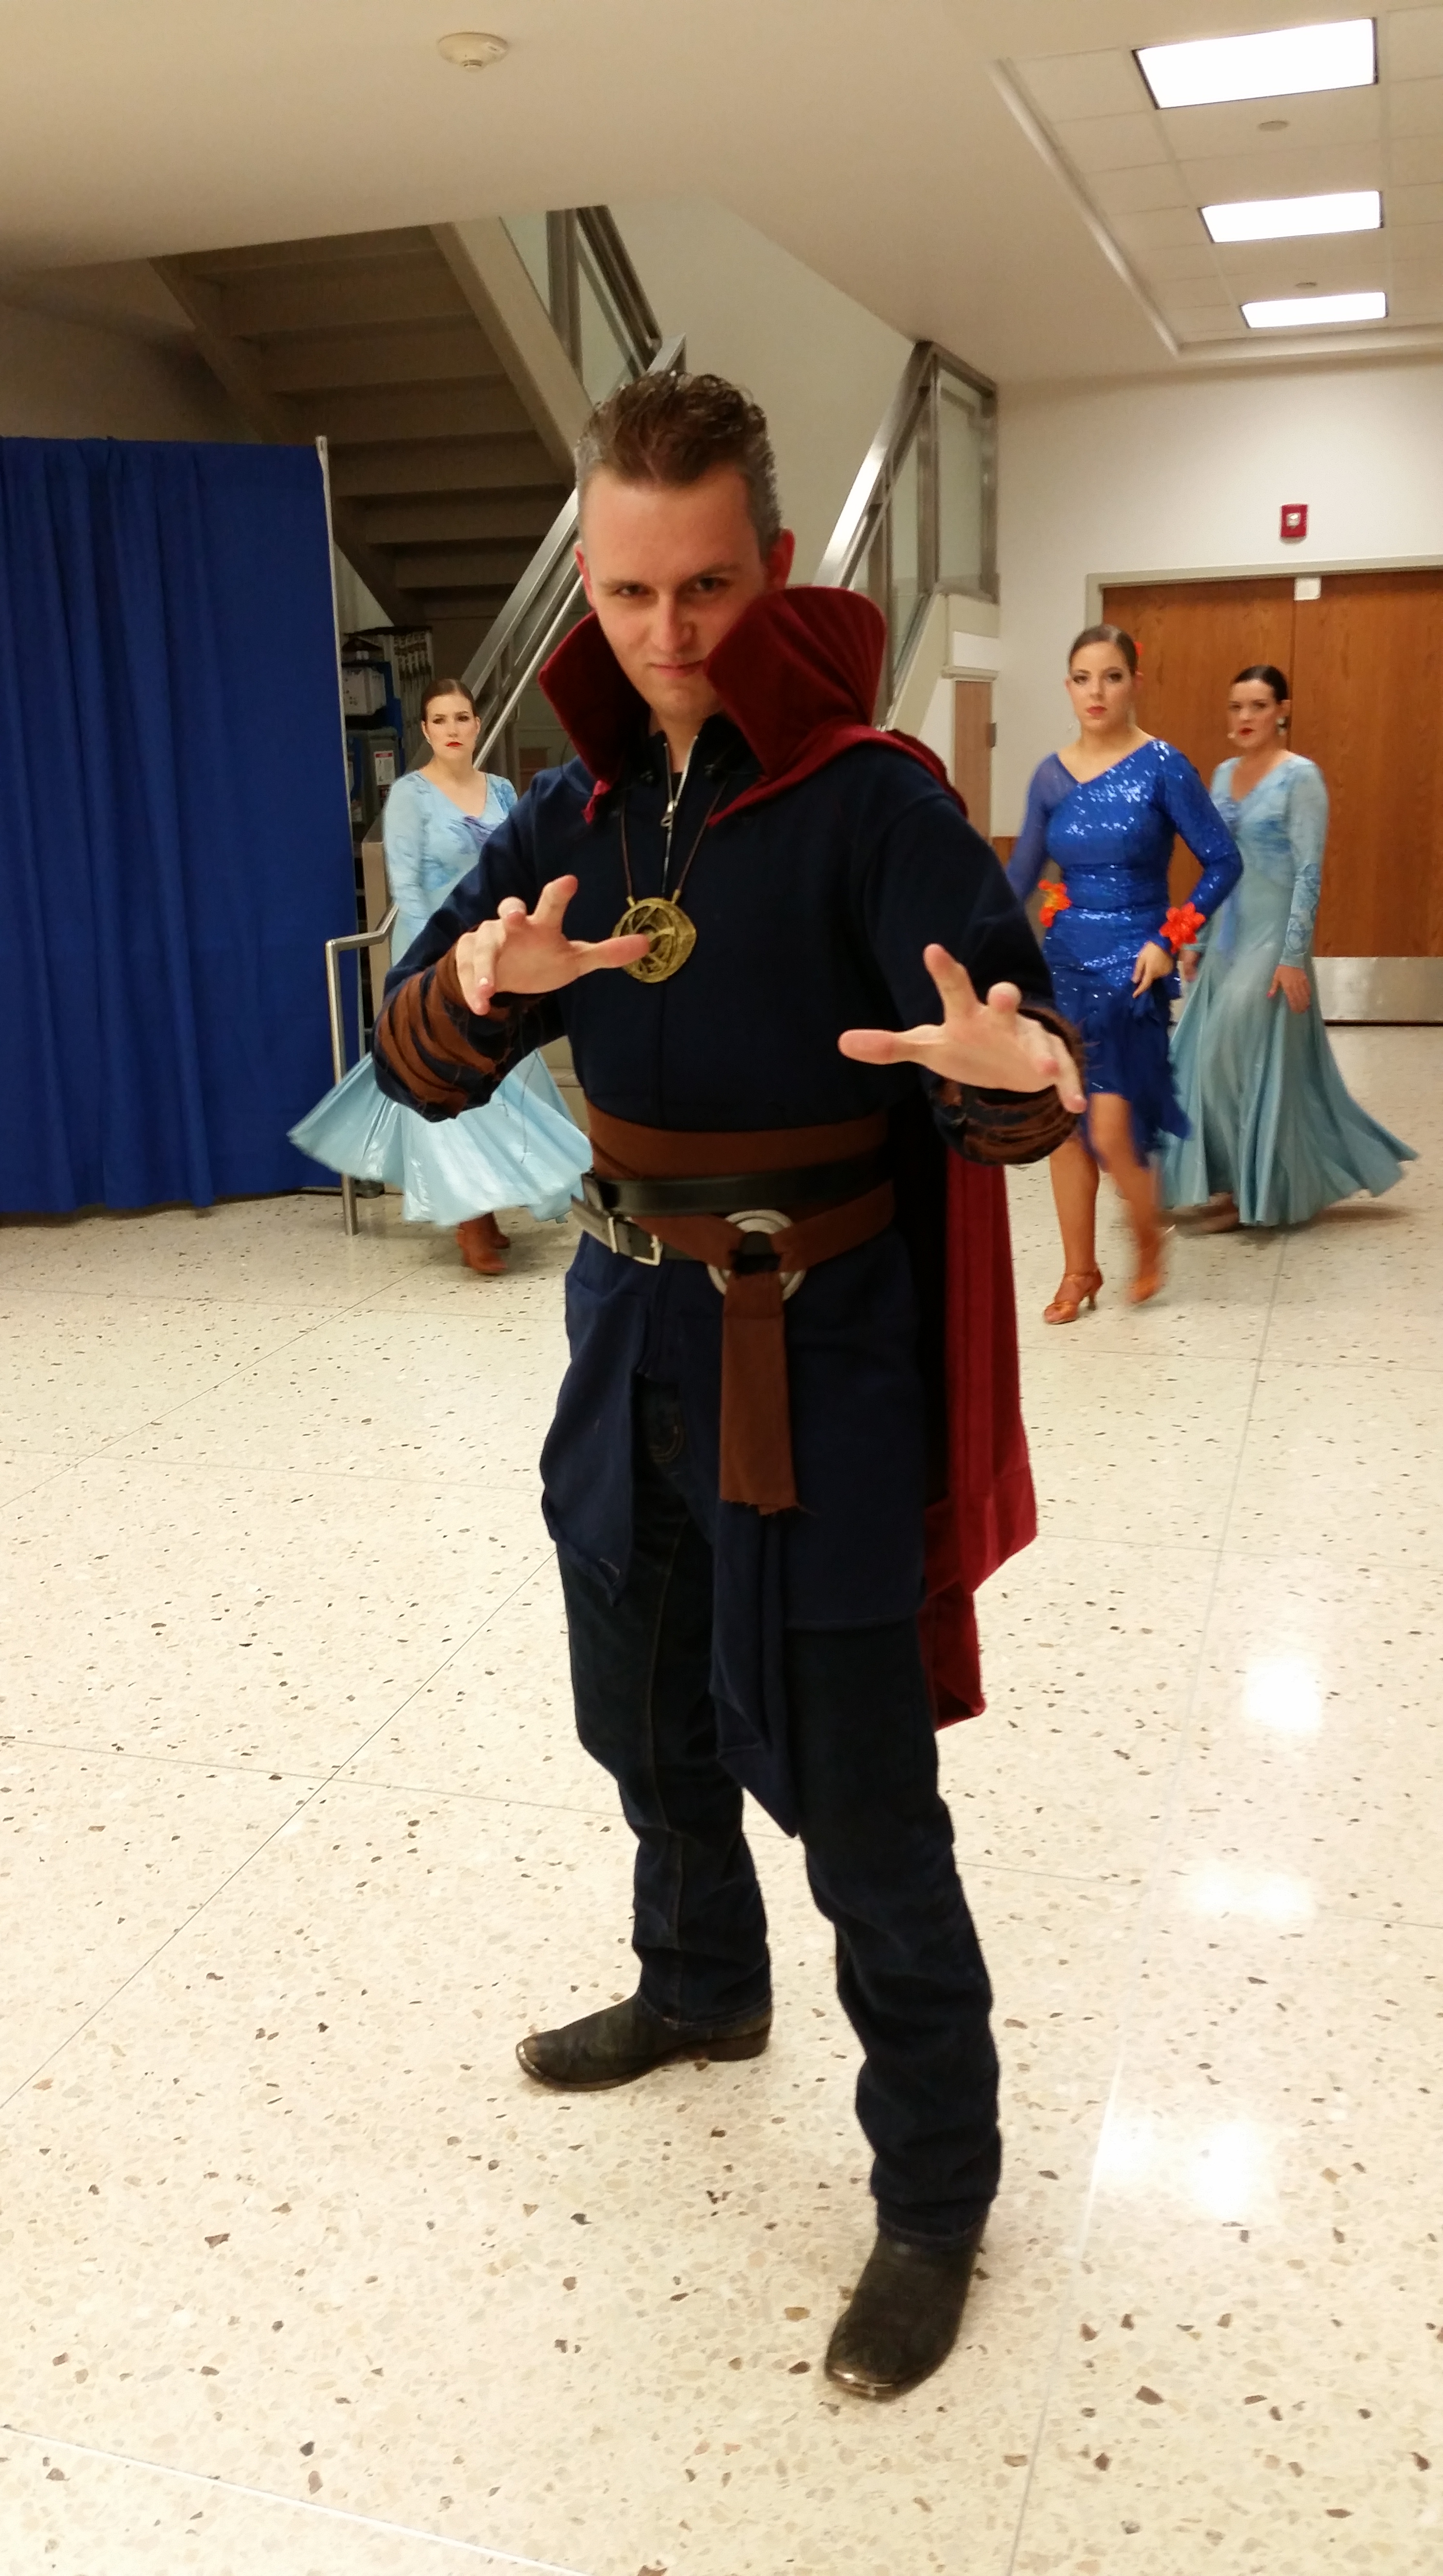
That’s right, I, a first time sewer, somehow pulled off the Sorcerer Supreme.
I don’t have any other photos yet, but I can give you a brief rundown of what I did.
I started with jeans, my leather cowboy boots, a belt, and a dark t-shirt as the base. The jeans and boot I had worked with no alteration.
For the tunic, I ended up going as simple as I could. I bought two identical hoodies in the right color, cut the hood off of one and seam ripped the elastic waistband off of both, and then I took the one that still had its hood and took off the zipper and cut it off at the armpits (it is very important that you get this cut straight across). Once you’ve done that, simply hem the edges and sew the block onto the bottom of the mostly intact hoodie. In retrospect, it would have been a good idea to get one hoodie in a larger size than the other, both for improved length and billowing and because the section where you remove the zipper with lose some of its width when you hem the edge where the zipper was, but having two hoodies of the same size worked well enough.
There is a rough template on this forum page that I used to approximate the cloak. I ended up simplifying it to be an actual square, such that my cloak looks more like this –

The outer layer follows this template entirely out of red velvet fabric, and the inner layer eliminates the ring about the neckline and replaces the center square with a lining fabric.
The collar I did by patterning different shapes out of paper until I found one I was satisfied with. I cut out fabric with a 1/2 inch seam allowance on all four sides, and then traced half of the shape onto a plastic folder. I then sewed the front and back halves together on the top and sides, leaving the neckline open, turned them inside out, glued the two plastic sections together, and stuck them inside. I then sewed the neckline onto the neckline of the cloak.
For the belt, I found a thick piece of single ply cardboard that had been used in food storage, and wrapped it with some of the leftover brown corduroy fabric that I used for the lining of the cloak, securing it in place with liquid stitch fabric glue and so self adhesive velcro. I sewed a simple tube out of the same fabric and pressed it flat for the sash around his waist, and just improvised the sashes that hang down.
The arm wraps are separate pieces, made from the leftover hoodie fabric, following this tutorial here. I simply added a zipper along the inside seam.
I hope someone finds this helpful! I intend to redo the cloak at some point to both make it actually patchwork and to make it the correct length, but for now, I feel safe calling this project a success.
More GIFs

Pacific Rim Drivesuit, Part III
View the full WIP ((Work in Progress)) log here.
So, the last couple days have been very exciting. My foam and heat gun arrived! (This means Ramsey is yelling at one of you out there, not me).

As a first start, I’ve been following this tutorial here by Evil Ted Smith… Except I don’t have a head form, and I’m running low on cash and friends who have cash. Therefore, I had to go the cheap route –
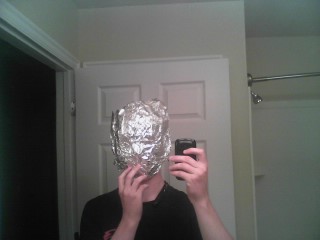
– namely tin foil –

– and duct tape.
Then I got someone I trust to take a pair of scissors and cut a slit up the back. As soon as I could wiggle my head out, I did, and then I taped up the back and took a selfie with my own head.

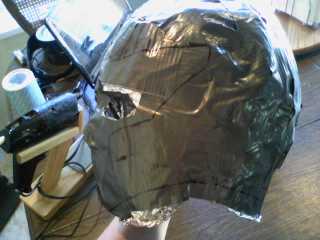
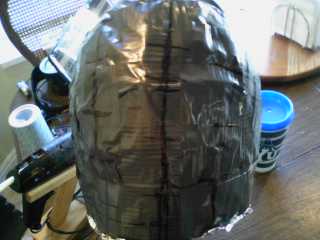
This is what the whole thing looks like. If you look closely, you can see the templates I have for the helmet drawn on, inspired by this image from DeviantArt.


Then, as per the instructions in the tutorial I linked above, I cut out the templates –

– and traced one side onto brown paper. Unfortunately they are quite difficult to see in this form.
And the first pieces cut out in foam.

I intend to finish as much as I can tonight. Expect another update tomorrow!
Detour
On a whim, I saw X-Men: Apocalypse last night. It was an incredibly fun movie, and I loved every second of it. It was amazing.
That said, my creative juices were a little mutated by the exposure, so to speak, and I did the following speed build.
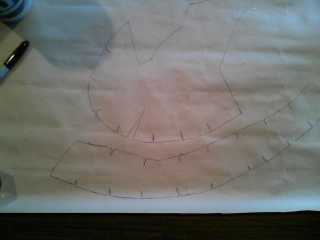
Templates taped down to the cardboard and ready to be cut out.

Cutting started, split into individual pieces.

First claw’s rough test fit.

All three claws cut out and waiting to be fitted to my fingers.

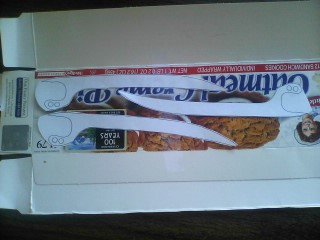
And the final product, mounted and painted.

More Wolverine-y-ness.
Posing.

More posing.
This was super easy and took me under two hours. I got the tutorial and templates here.
Pacific Rim Drivesuit WIP, Part II
Quick update – I’ve finished digitizing the concept sketch.

I am incredibly pleased with how it turned out, and am excited to make a duct tape dummy of myself and get started. That said, I need to find someone I trust to be able to start a duct tape dummy.
For those of you who are curious as to how I did this, I had my grandpa scan the drawing into the computer and then imported it into Google Docs. Then I simply traced it using the “line” and “curve” tools. Delete the scanned photo underneath and viola! Instant digitized template.
Also, I’m aware that the hips are a little wonky. I’m still working out what I want the hip pods to look like, which is why the codpiece is currently floating and the belt is slightly infinite.
Edit:
I’m going to use the gauntlets and possibly the shins from here, in addition to my additional helmet template.
